
Back Up and Restore a pfSense Configuration Safely
A pfSense configuration backup contains interface assignments, firewall and NAT rules, VPN settings, users, and other sensitive data. This guide creates an encrypted full backup from pfSense CE or pfSense Plus and restores it only to a disposable, isolated lab firewall. A backup file is not proven useful until a compatible firewall can load it and pass the expected checks.
Record the Source System and Recovery Scope
InventoryRecord whether the source runs pfSense CE or pfSense Plus, the software release, hardware or VM NIC layout, installed packages, and critical services. Note interface-to-port mappings and management IP before export. Netgate’s backup compatibility depends strongly on the configuration revision; an older complete backup can often be upgraded on a newer release, but a newer revision cannot be restored to an older release.
Record: edition and release | configuration revision | NIC assignments | installed packages | management IP | VPN dependencies | recovery owner❯ What to Verify
The target lab release and network isolation plan are selected before export.Export a Full Encrypted Backup
BackupOpen Diagnostics > Backup & Restore and choose All as the backup area. Keep package data unless the recovery plan explicitly handles package reinstall and reconfiguration. Enable encryption, enter a strong unique backup password, and select Download configuration as XML. Confirm that encryption is enabled before downloading; the option may be off by default.
Diagnostics > Backup & Restore > Backup & RestoreBackup area: AllSkip packages: uncheckedEncryption: checked; use a strong unique passwordDownload configuration as XML❯ What to Verify
The browser saves an encrypted full configuration backup and thepassword is recorded in an approved secret store, separately from the file.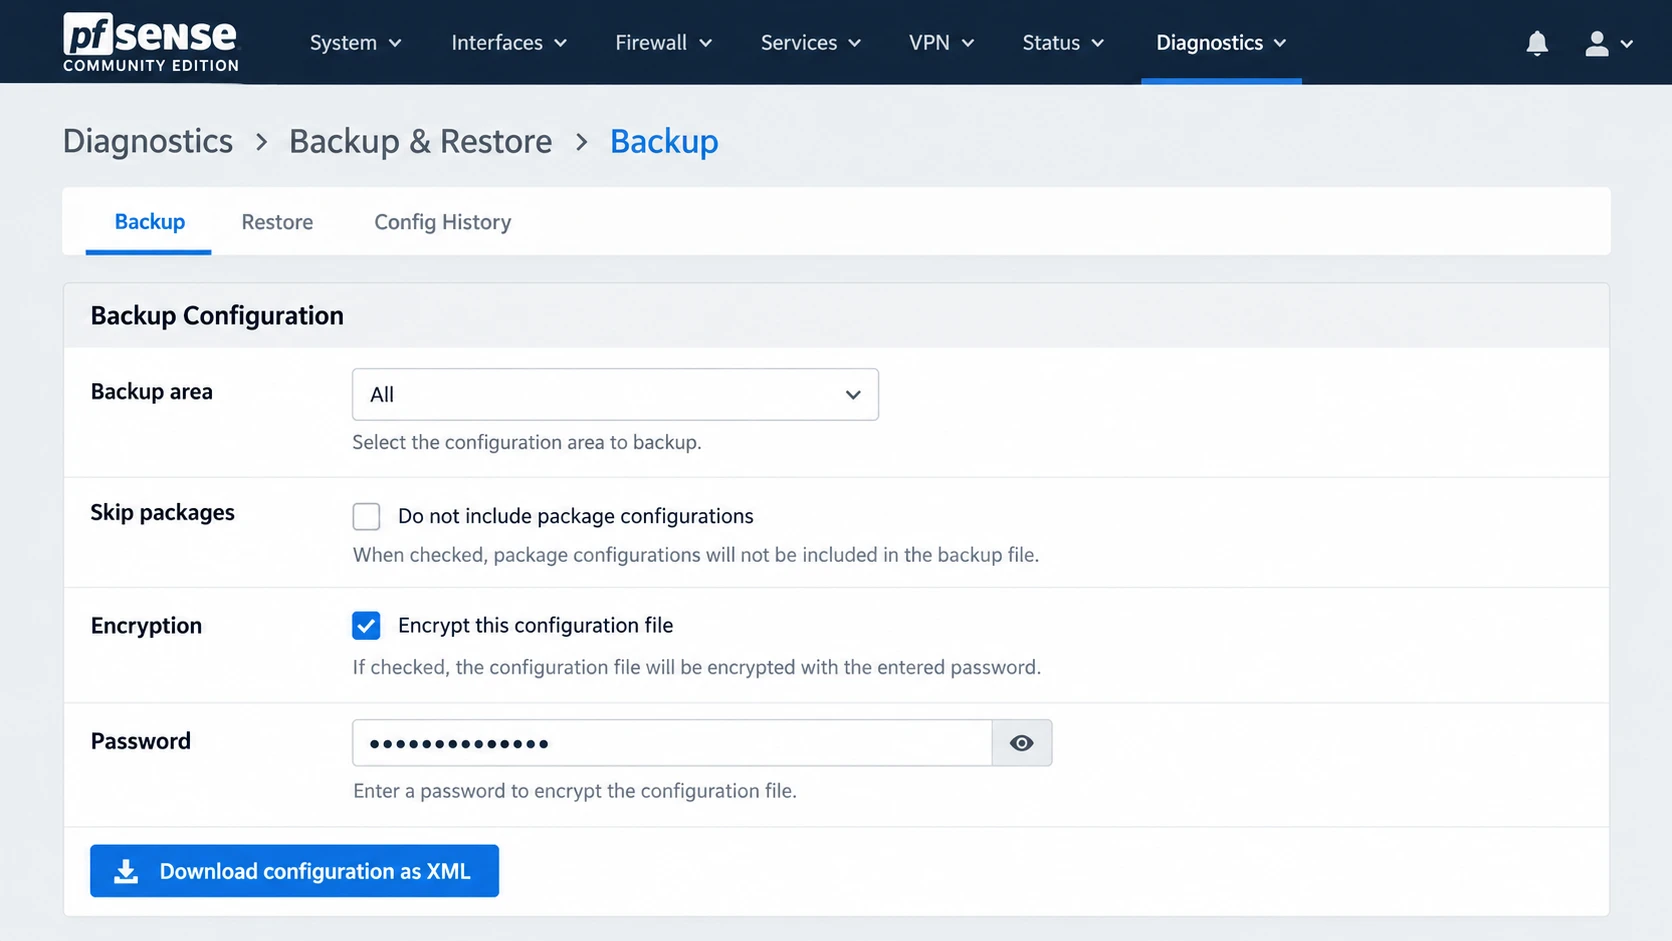
Illustration: Export all configuration areas, include package settings, and enable encryption before downloading.
Verify and Store the Backup File
CustodyConfirm the file has a plausible nonzero size and a timestamp matching the export. Store it in an approved backup location with restricted access. Replace the example path below with the actual downloaded filename before running the commands. Record a SHA-256 digest so later restores can verify that the stored copy is unchanged. Keep the encryption password in a separate secret store and document who can retrieve it during an outage.
# Run on a Windows workstation after downloading the encrypted backup.$Backup = 'C:\SecureBackups\config-firewall-YYYYMMDD.xml'Get-Item -LiteralPath $Backup | Select-Object Name, Length, LastWriteTimeGet-FileHash -LiteralPath $Backup -Algorithm SHA256❯ What to Verify
The encrypted backup is nonempty, stored outside the firewall, and itsdigest and password-custody location are recorded separately.Inspect Configuration History for Quick Rollback
HistoryOpen the Config History tab and compare recent revisions. History is useful for reverting a small accidental change, but it lives on the firewall and does not replace an off-device backup. Record how many entries are retained and identify a known-good revision. Do not click Restore during this inspection.
Diagnostics > Backup & Restore > Config HistoryReview: change time, change description, revision, and diff❯ What to Verify
A known-good entry is identified and its differences are understood.The separate encrypted backup remains available if the firewall fails.Prepare an Isolated Restore Target
LabInstall a compatible pfSense release on a spare firewall or VM. Use an isolated switch or host-only virtual network so restoring the source management IP, DHCP service, or WAN rules cannot collide with production. Provide a console path in case restored NIC names differ. Compare configuration revisions before starting; cross-edition, hardware-specific, and partial restores need extra review.
Lab target: same or compatible pfSense configuration revisionNetwork: isolated from production, no shared DHCP broadcast domainAccess: console or VM console available after import❯ What to Verify
Restoring the source configuration cannot affect live clients or collidewith a production firewall address.Restore the Full Backup in the Lab
Recovery DrillOn the lab firewall, open Diagnostics > Backup & Restore. Set restore area to All, select the encrypted backup file, choose the encrypted-file option, and supply the password through the GUI. Review the target once more, then restore. A full restore can reboot. Use the console to correct interface assignments if the lab NIC names differ before connecting any test clients.
Lab firewall > Diagnostics > Backup & Restore > Restore BackupRestore area: AllConfiguration file: select the stored encrypted XMLEncryption: configuration file is encryptedPassword: retrieve from approved secret storeRestore Configuration❯ What to Verify
The isolated lab firewall accepts the file and returns with theexpected configuration; production remains untouched.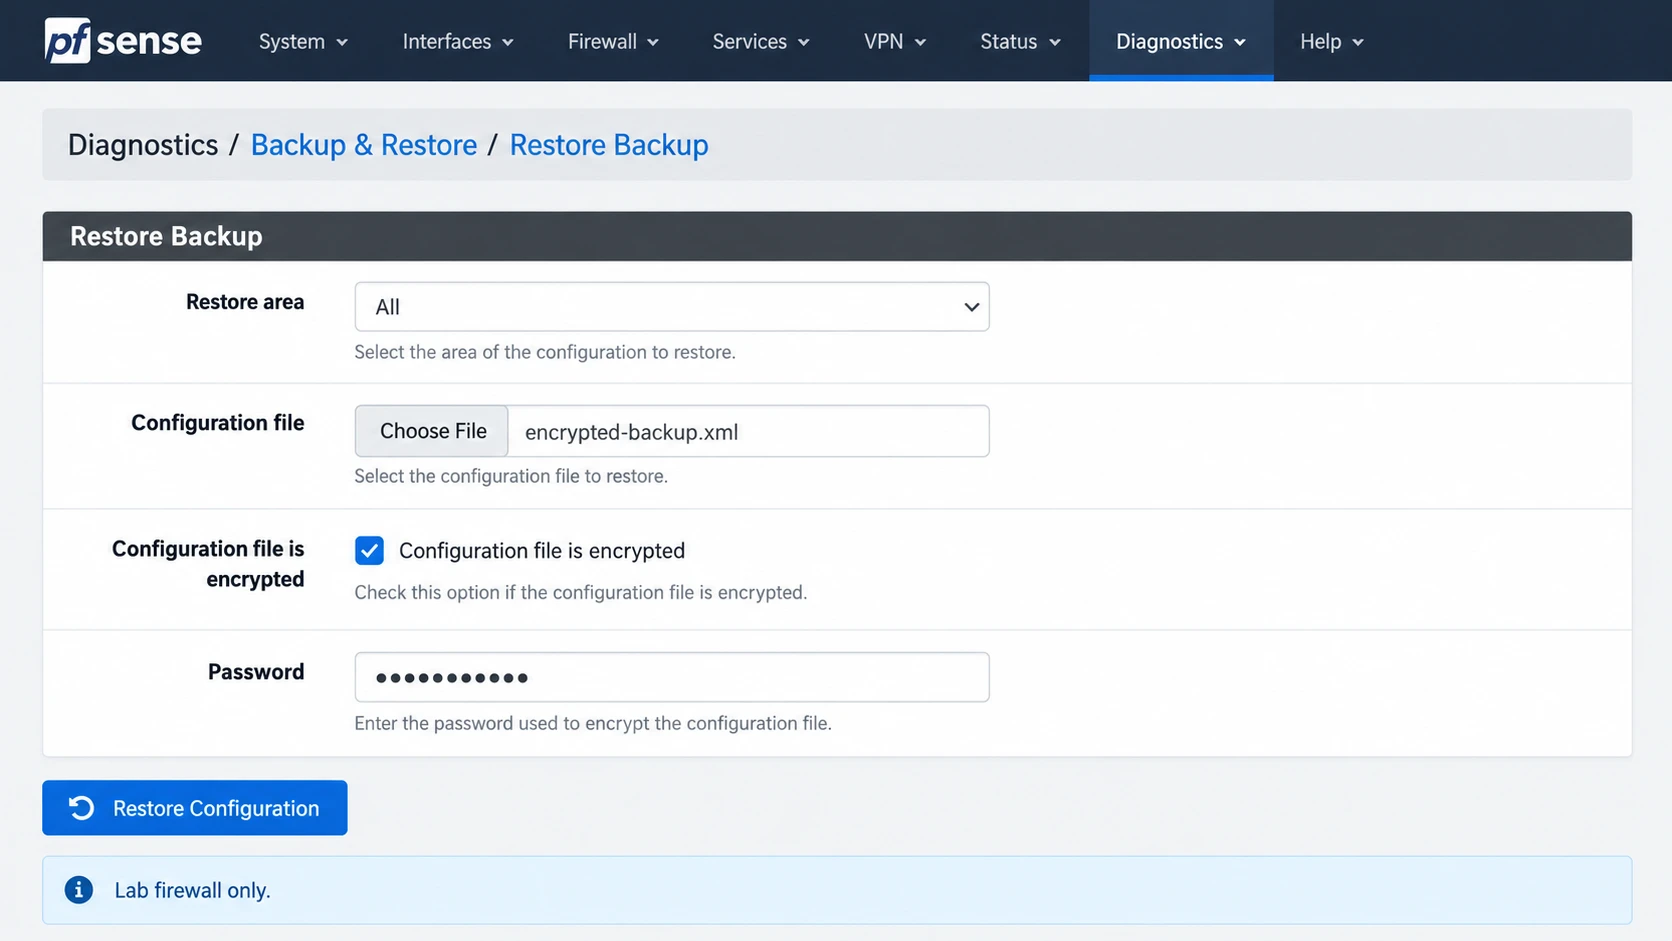
Illustration: Restore the encrypted full backup only on the isolated lab target, using the password from your approved secret store.
Check Services and Record the Recovery Result
ValidationAfter the lab restore, confirm interface assignments, GUI login, firewall/NAT rules, DHCP and DNS settings, package list, certificates, and VPN definitions. Test a small allowed and denied flow using isolated lab clients. Record the time to recover, anything that required manual adjustment, and whether package reinstall was needed. Keep the lab disconnected after the drill and update the recovery runbook.
Checklist: GUI access | interfaces | rules | DHCP/DNS | packages | VPN/certificates | allowed flow | blocked flow | restore time❯ What to Verify
The backup can be loaded and the critical configuration is verifiedon a safe target, with gaps captured for the next drill.